To submit a batch of electronic STAC-1s:
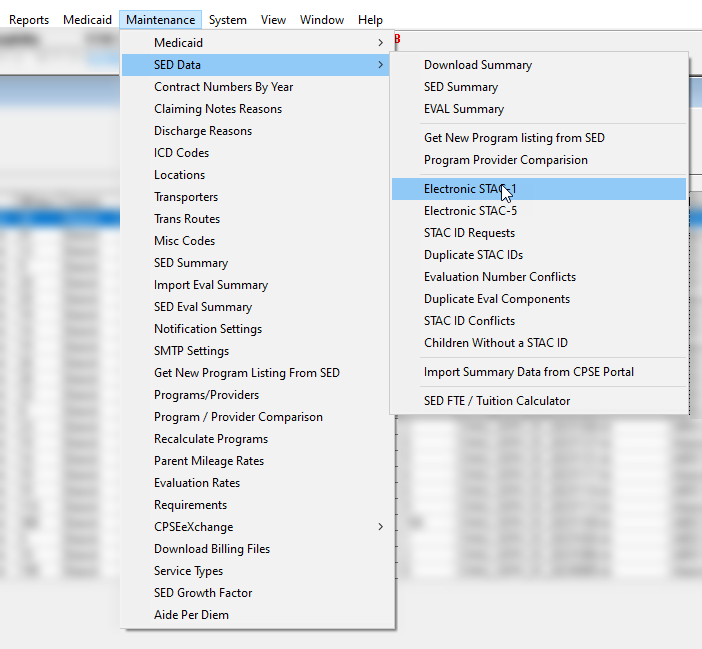
- Go to "Maintenance" -> "SED Data" -> "Electronic STAC-1"
2. In the window titled "Create & Process Electronic Stac File", select the school year your STACs are in. If your county has previously submitted STAC batches for that school year, you will see those submitted batches listed on the left side. Or if you are doing it for the first time for that school year, then you will see nothing on the left.
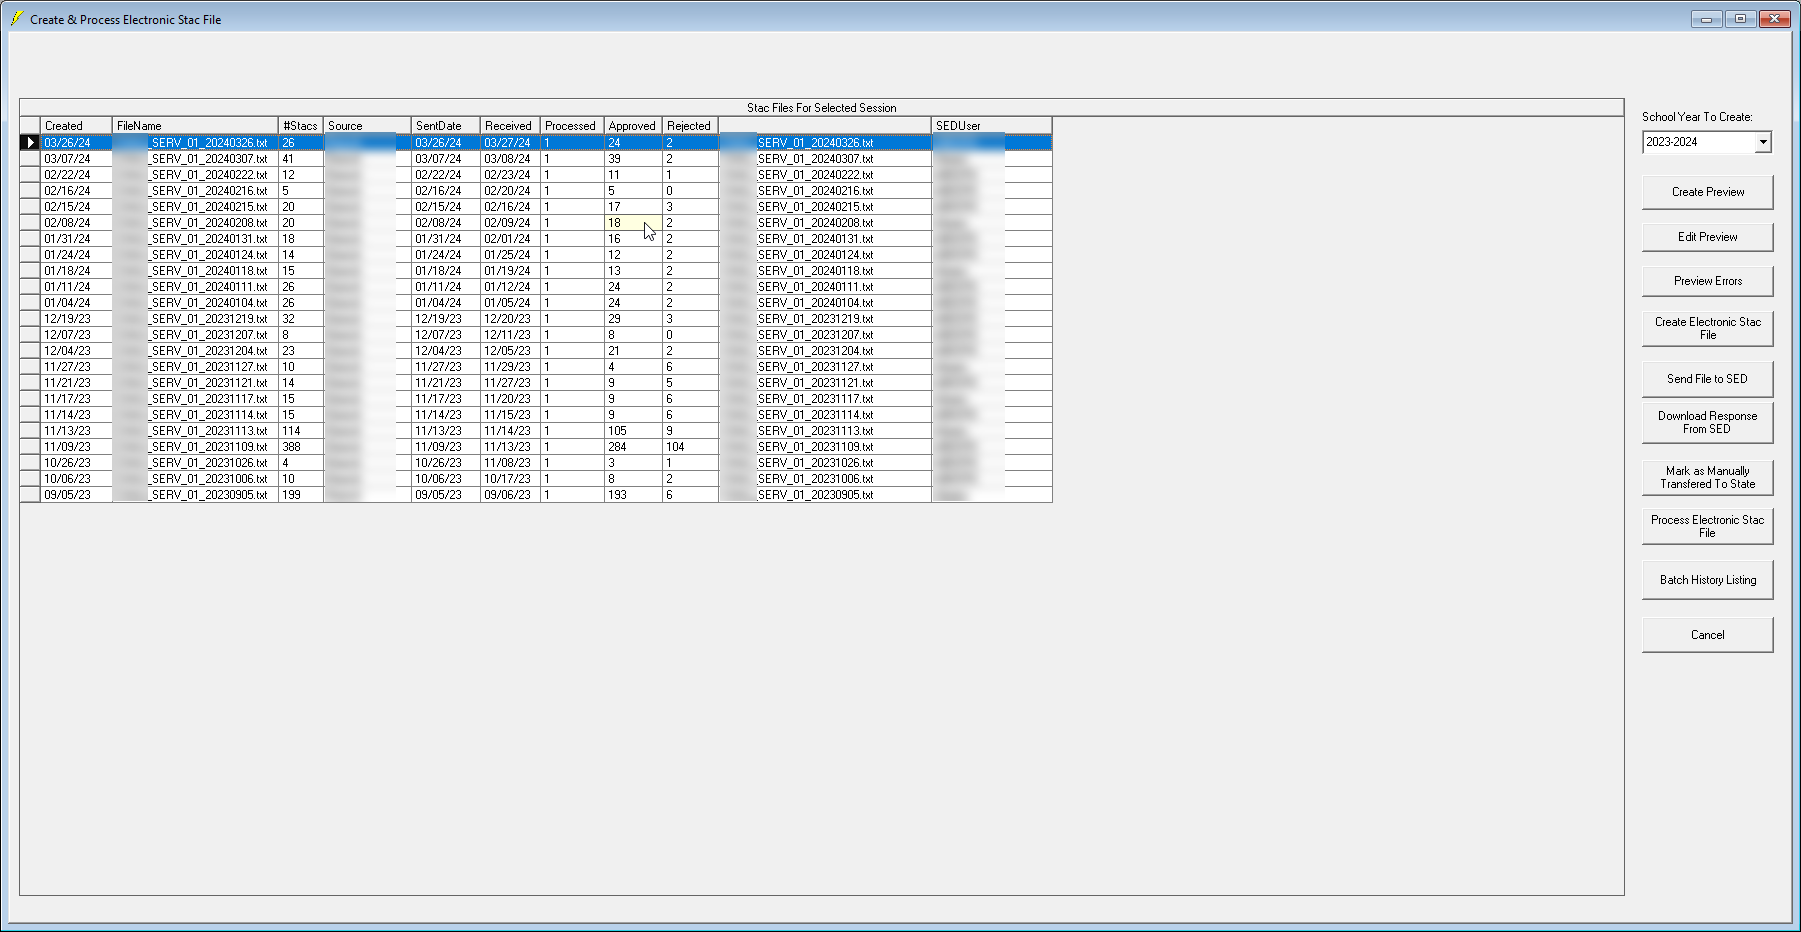
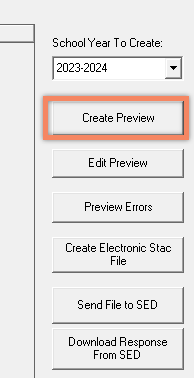
3. Click "Create Preview". A warning message about potentially clearing out the existing preview can be ignored unless you intend to keep the preview that you last created. Then you will be prompted to enter your SED EFRT User ID.
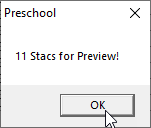
4. After you've entered your EFRT User ID and hit "OK", Preschool will gather all the unsubmitted STACs and give you this report popup.
Then, click "Edit Preview"
5. In the "Stac Preview" window, hit "Refresh" to bring up the STACs in your preview batch.
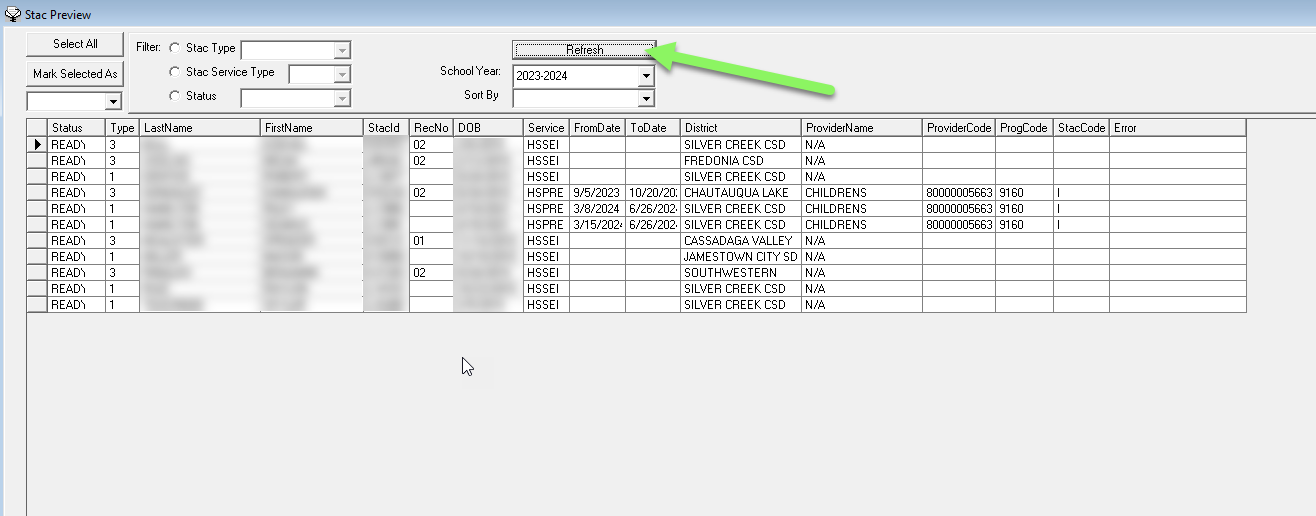
6. Here you can see the details of these individual STACs. You can see if they have any errors that will prevent them from being approved, and you can review them briefly to spot any problems. Double-clicking any of the rows will give you a window with the full details of that STAC, which you can view only, and any necessary changes will have to be made back at the "Child/STAC Info" screen.
7. (Steps 7 to 9 are for removing STACs from the batch, if you don't see a problem in your list of STACs you can just skip them.)
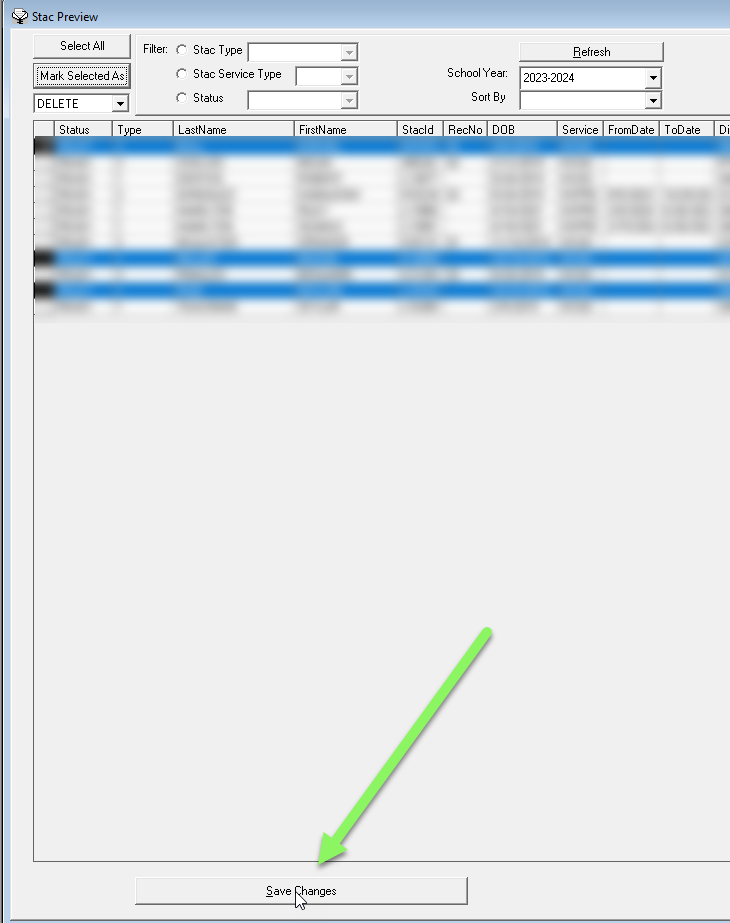
And if you do spot any problem and need them removed from this batch, you can do that by clicking on the problematic rows (This table uses a toggle control, so you don't have to press down ctrl or shift to select multiple rows, you just need to click them)

8. Then you go to the dropdown box under "Mark Selected As", select "Delete"
first, and click "Mark Selected As"
after. (When you mark STACs to delete, it just means it's removing them from this batch, those STACs will remain in Preschool)

And once you've done that you will see the status of the selected rows changed to "Delete"

9. Click "Save Changes" at the bottom of the window, and those STACs marked as "Delete" will be removed from the batch.
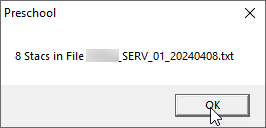
10. If the batch is ready to be sent, exit the "STAC Preview" window; Then, back at the "Create & Process STAC File" window, click "Create Electronic STAC File".
A pop-up confirmation message will appear.
11. You will see a new row at the top has been added. That's the batch we just created.
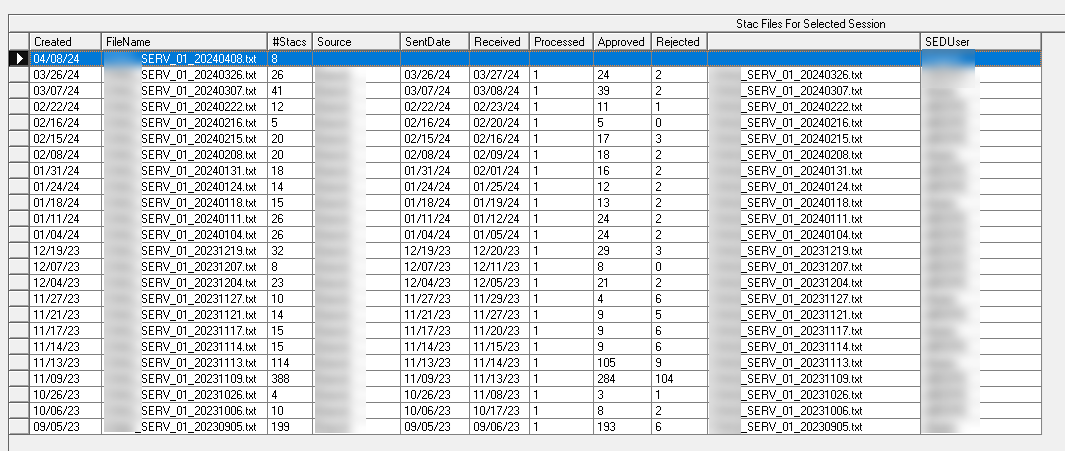
12. Next, you can click "Send File to SED", where you'll be prompted this time to enter your SFTP/GoAnywhere User Name and Password, once you've entered those, that batch will be send to SED.
